Home / Plan the Seam Before the Slab: A Timeline for Keeping Joints From Cracking Later
Plan the Seam Before the Slab: A Timeline for Keeping Joints From Cracking Later
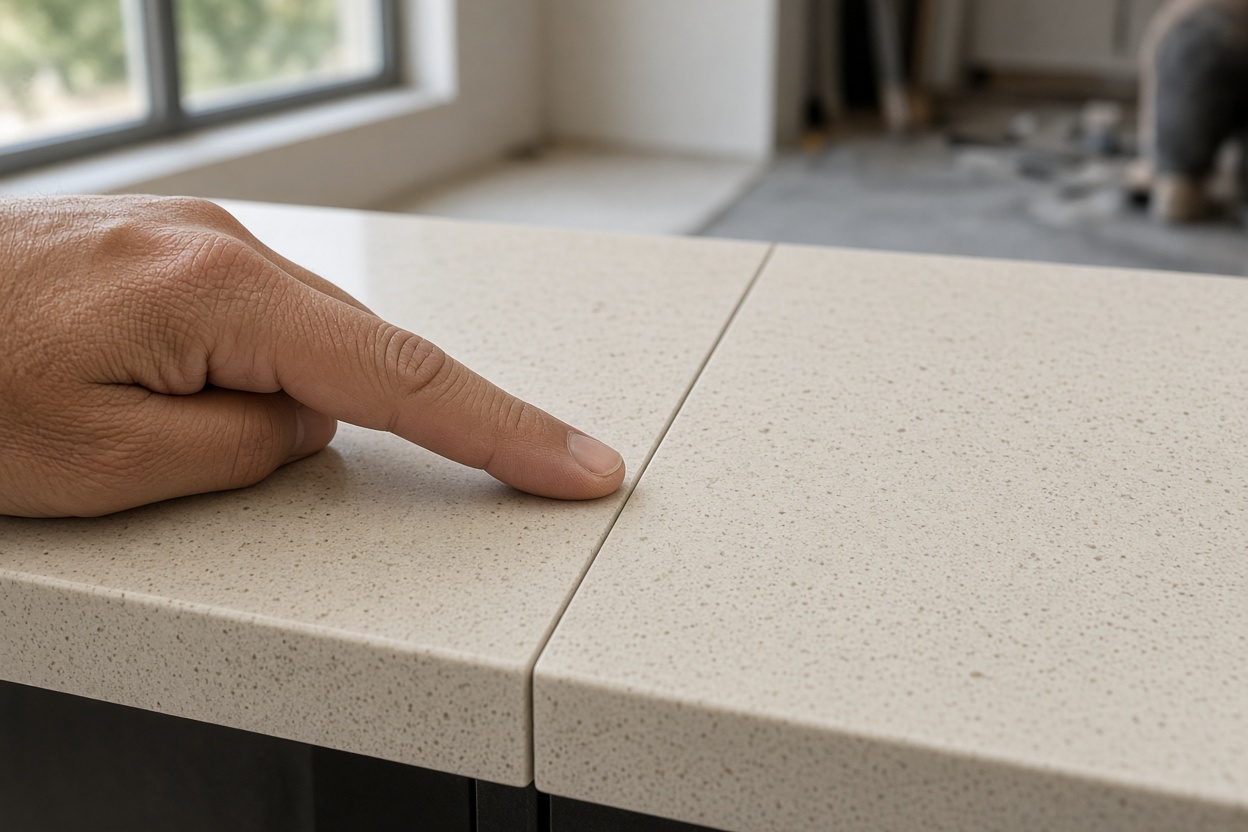
The easiest moment to deal with a cracked seam is the afternoon before the stone is cut, when the joint is still a pencil line on a template and nobody has glued anything. Almost every seam that fails years later was decided, one way or another, at that stage: where it sits, what carries it, and what the cabinets were doing the day the top went on.
This is a planning timeline. It starts before the template visit, moves through install day, and ends with a seasonal habit that catches trouble while it is still small.
Why Seams Fail on a Schedule You Can Predict
A seam is two cut edges joined by a thin line of tinted adhesive. That line is the softest part of the top, so it shows movement first. Movement comes from a short list of sources: a cabinet that settles, a floor that flexes, heat from a pan or an appliance, water working into the base, and temperature swings that make the house expand and shrink a hair at a time.
None of that is a surprise. Because the causes are known, most of them can be planned around. For how these joints break down once the damage has started, there is an earlier post on cracked seam repair and diagnosis on this site, and it pairs well with the planning steps below.
Stage One: Before the Template Visit
The template is the moment the seam location gets locked in, so the work begins a few days earlier.
- Level the cabinets first. Lay a straightedge along the top of the base cabinets, front to back and side to side. Shim and fasten anything that rocks. A top that sits on cabinets that are not level will be bridged by the stone, and a bridged span is a stress line waiting for a seam to find it.
- Finish the plumbing and appliance decisions. The sink model, the cooktop and the dishwasher decide where cutouts go, and cutouts decide where seams are safest. Changing a sink after the template can force a seam into a bad spot.
- Decide which appliances stay and which go. A dishwasher or range that is replaced later can alter the support under the edge of a cutout.
- Clear the floor and the base. Debris under a cabinet leg or a bowed toe kick shows up later as a low spot.
In Riverside, many kitchens in older neighborhoods have been remodeled once or twice already, and the floor under the cabinets may not match the floor at the sink. Checking for a dip across the whole run, not only at one cabinet, is worth the few minutes it takes.
Stage Two: Choosing Where the Seam Goes
The layout conversation with the fabricator decides more than the adhesive ever will. These are the questions worth asking while the template is still on the floor.
- Is the seam at least a hand's width away from any sink or cooktop corner? Inside corners of a cutout concentrate stress. A joint placed right at one invites a crack to run from the corner into the joint.
- Does the seam land on solid cabinet support? A seam sitting over a drawer opening or an empty span has nothing underneath to share the load.
- Is it away from the dishwasher? Steam and moisture at the front edge are hard on adhesive and on the wood supports beneath it.
- Could the seam sit in a corner or a natural break instead? Joints at a corner turn, where the top changes direction, often hide better and carry less strain than a joint in the middle of a long straight run.
- Does the pattern line up? For veined stone, ask how the veins will meet across the joint, because a seam that is easy to see tends to get picked at.
Overhangs deserve their own question. A breakfast bar that extends past the cabinet needs brackets or corbels sized for the stone, and a seam through an unsupported overhang is under bending load every time someone leans on it. If a seam has to fall near an overhang, the support should be settled before the stone is cut.
Stage Three: Install Day
Template decisions only pay off if the day itself goes well. A few things are worth watching without getting in the way.
- Dry fit before glue. The two pieces should meet along the whole edge with no rocking and no visible daylight.
- Check the joint for flatness. Run a fingertip across it. A ridge on day one is a fitting problem, not a future one.
- Watch the cure. The adhesive needs the pieces held level while it sets. Rushing this step is one of the few install errors that cannot be corrected afterward without cutting the seam open.
- Ask about cutout corners. Rounded inside corners are stronger than sharp square ones, and it is easier to request them before the cut.
- Keep every offcut. Leftover stone, even a small piece, lets a future repair match color and finish, and it can be used to test a filler tint.
Stage Four: A Record That Costs Nothing
On install day, take photographs that a future repair person will want:
- The seam in raking light from a low angle, with a coin or ruler for scale.
- The underside of the top, if the cabinet is open, showing the support.
- The spot where the dishwasher and sink sit relative to each joint.
- A close shot of the stone label or any paperwork naming the material and finish.
File the photos with the name of the material, the color and the date. When a hairline appears years later, a comparison against the original joint tells you in a minute whether anything has really changed.
Stage Five: The First Year of Seasons
A new top and new cabinets settle. The first dry winter and the first hot summer are the test. Riverside swings from long hot stretches to dry autumn winds, and a house that gets heated in winter and cooled hard in summer moves a little with every shift.
A simple calendar keeps an eye on it:
- One month after install: check for any new lippage with a fingertip and a straightedge.
- First cold snap or first heating week: look at each seam in raking light and compare against the install photos.
- First hot stretch: keep trivets handy near seams and avoid setting hot cookware or small appliances on or next to a joint.
- After any leak or plumbing work: open the sink base and look for staining, softness or swelling near the seam.
- Once a year: repeat the photo, with the same scale object, and file it with the first set.
If you want a broader place to start reading about how these routines fit with stone, quartz and edge care, the riverside custom countertops hub gathers the related posts in one spot.
A Worked Example: Two Pieces and a Sink
Consider an L-shaped kitchen with a farmhouse sink on the long leg and a cooktop on the short one. The top needs one seam, and the first layout puts it a few inches from the right edge of the sink cutout.
Walking through the questions above changes the plan:
- The joint is too close to the cutout corner, so the stress path is short. Moving it to the corner of the L, where the two legs meet, puts it well away from both cutouts.
- The corner of the L sits over solid cabinet boxes on both sides, so the joint has support underneath.
- The dishwasher sits on the opposite leg, so steam never reaches the new seam location.
- The cabinet run has a slight dip near the sink, which a shim fixes before install.
The final top uses the same two pieces of stone with one joint, but the joint now sits where the load is lowest and the support is highest. The tint is matched on the day, an offcut goes in the garage, and the install photos go into a folder named for the material. Nothing about the plan added much work. Nearly all of it was a decision made earlier.
Planning for a Seam That Already Exists
Not every reader gets to plan from the template. If the top is already installed and a joint is showing signs of age, the same thinking applies in reverse:
- Level and support first, then look at the filler.
- Mark both ends of any hairline with a pencil line and a date.
- Photograph it the way the install photos would have been taken.
- Keep weight and heat away from the joint until it has been assessed.
- Ask the technician how the cause will be fixed, not just the line.
A seam that gets refilled over a moving cabinet will reopen, so the order matters: cause first, cosmetics last.
The Short Version of the Plan
The pattern across all five stages is the same. Level before layout. Put the seam where the load is lowest and the support is highest. Watch the cure on install day. Keep a photo record and an offcut. Check the joint through the first full set of seasons. None of it takes special tools, and every step is cheaper in effort at the start than at the end.